Friday, November 4, 2011

1920's


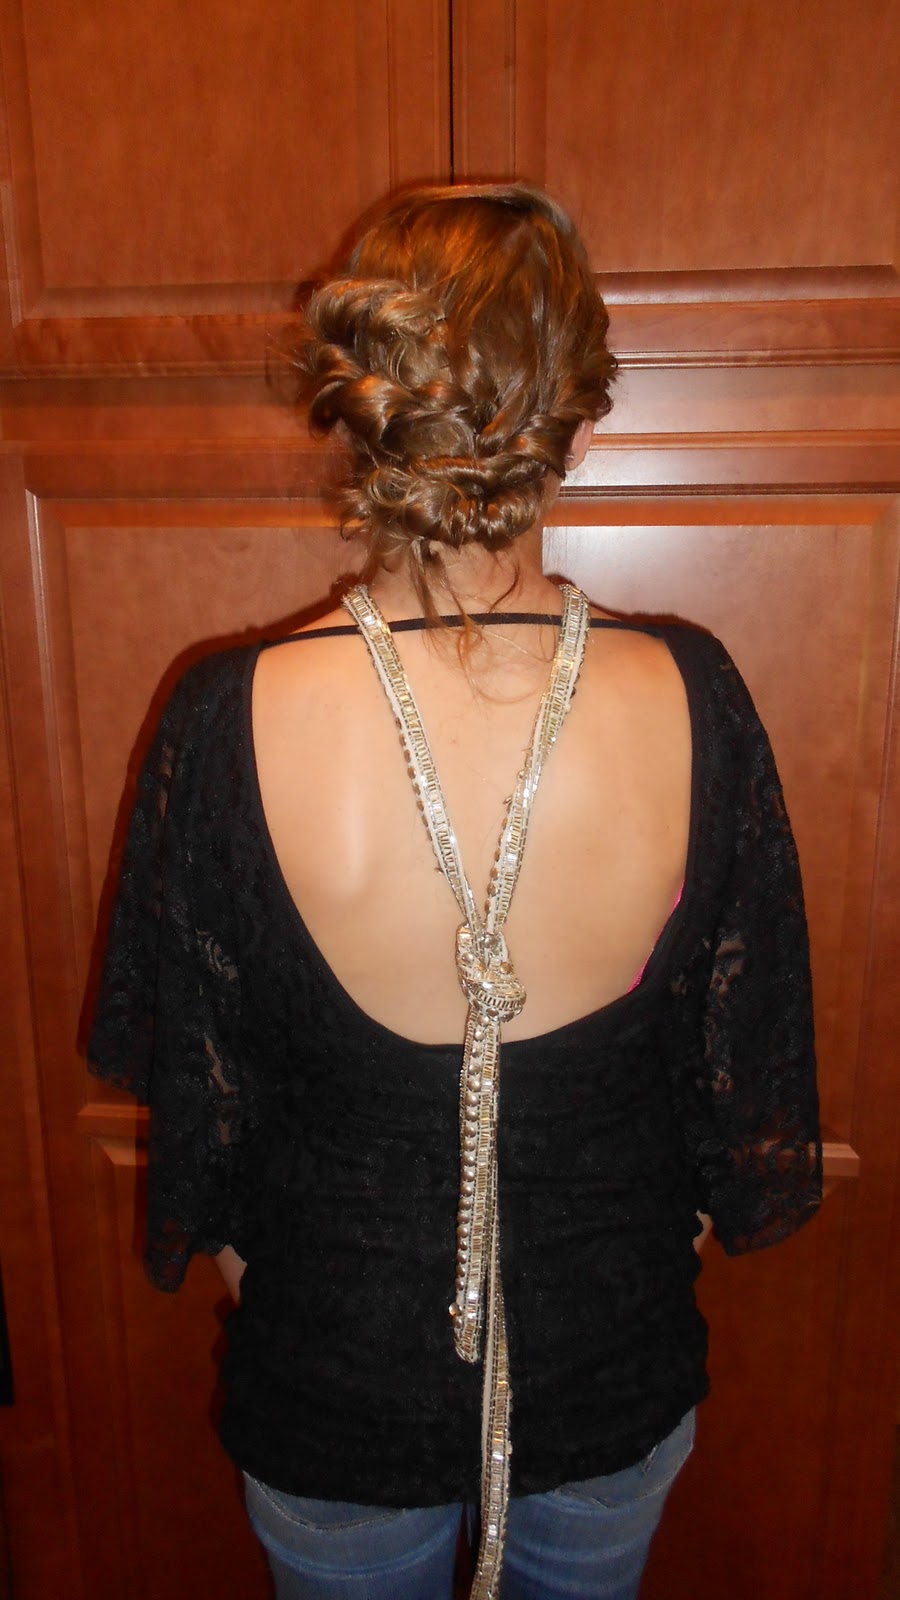
            This past week was Halloween and it’s one of my favorite time of year, because it's when people really appreciate my talent for hair and makeup. Last year I did my sisters hair and makeup and turned her into a punk rock chick that almost looked like a modern day pin up girl. People ask me all the time to do their hair and makeup, but I really love creating looks for costumes. My sister asks me all the time for hair and makeup ideas, and I always try my best to help her out. Over the summer my sister went to a 1920's costume party and asked me to make a hair and makeup look for her. She likes to be as authentic as possible when attempting any look.  Unfortunately, my being in Wisconsin and her in New York made it a little more challenging, because I couldn't just do it myself.  I did the next best thing and I made videos and put them up on YouTube for her to watch. When I uploaded the videos I didn't think twice.  I figured that no one was going to actually watch them but her. Well, to my surprise when I checked my old email over the weekend I saw a bunch of YouTube email notices. Curious, I logged into my YouTube account to find I had well over 5,000 views. Let's just say I was shocked and from what I saw it seemed like people kinda liked it. So I have been checking on it every day all week and in 3 days it has gone up to almost 7,000 views.  I am guessing that since it was Halloween girls were dressing up as flappers and looking for a video on how to do 1920's hair. That's when they came across me and my video on 1920's hair. So this week instead of writing about my transformation, I am going to post my two videos.  Please ignore my appearance for the most part and the quality.  Like I said I posted them and didn't expect people to actually watch them.  I guess that's what is so amazing about the Internet.  If you put it out there, people can see it.  Still, I was sick when I made them so I speak quietly and I don't really know how to explain what I am doing. All in all, it was a pretty good first attempt and I hope you enjoy them.  I think they will explain things better when you get to see it step by step.

Tips for this look:
1) Don't be afraid to be too dramatic with your makeup, it was the roaring 20's and they didn't care they were on drugs. Haha
2) Make sure you don't drop your Bobby pins (said in a British accent).

Hint for next transformation: Hide your face so the world will never find you
           

Mother Earth


            When coming up with different themes and ideas for my portfolio, I started breaking things into different categories. I had basic theatre makeup, time periods, and cartoons. Then I came across the idea to do characters based on nature and the environment. I decided to do my own twist on mother earth to start off the nature section. Since I was putting this entire transformation together and not having a specific reference I had to get creative. I thought about what mother earth stood for and what she protected. I thought about the Amazon right away and how people are going in and chopping down trees and killing animals.  I then pictured mother earth standing in the middle of the Amazon as a giant tree that wouldn't fall or move no matter what.  She simply stood there protecting all the plants and animals.  She was the heartbeat of earth and kept everything safe and alive. Then the entire concept for the hair, makeup and costume came to me.

            For the makeup I designed parts of the face to represent the patterns of different animals the mother earth cares for.  Under my eye I layered a shimmer purple shadow to give my face a sleek wet look. Then with a dark purple eyeliner I drew in a fish scale pattern. For my right eye I began with a white face paint and then set that with a white eyeshadow. Then with a black liner I drew in big dramatic Zebra stripes. On my forehead I used a goldish yellow color and then with a brown liner I drew in random blogs of brown. Then in the middle of that a white liner. You can look at pictures of cheetahs to help with the pattern. Then I did small little dashes with black liner next to the cheetah to look like snake skin. At the top I put more white face paint and set it with white eye shadow. Then I took more liquid liner and drew furry looking black blobs, leaving the middle clear. I looked at pictures of white leopards for this pattern. Then coming off of my right eye, I took a brown liner and drew a line curving down and then added lines going off of it like a feather. Then I took a light blue liner and added a circle then green, more brown, and purple, to look like a peacock feather.  This entire concept is very subjective and any of these patterns can be used anywhere on the face.  Get creative and use whatever animals inspire you.


For the hair I wanted to keep it flowing and natural, like I just came out of the ocean. I didn't want to do nothing, so I started off with a chunk of hair and twisted it over and across my head and secured with Bobby pins. Then I started making small braids all over my head. Once all the small braids were done, I connected random braids together. I was thinking of the vines of a tree when I came up with this idea and how they are all connected to the tree just all with different paths to get to the base.

            For the costume I kept it fairly muted in colors and simple, because I really wanted the makeup to pop. So I drew up a short brown dress and over the dress a baggy white shirt that says "Save the Whales" with a almost sketch like whale on the shirt, with a rope belt bunching the shirt. I wanted to keep the dress short so that I could paint the legs to look like bark on a tree. So that when I stood it was like I was a tree planted into the ground and connected to all thing living. Then, on the arms I used spirit gum to attach leaves and panted some vines connecting them together. So when I lifted my arm I was like the branches of a tree.
Tips for this look:
1) look up picture of animal for patterns and use ones that speak to you.
2) Get creative with the braid and all the connections; keep them random.

P.S. I didn't have time to do this look on anyone so I just tested it out on me first.

Hint for Next Week:
  The change came with erotic fashions, literature and movies, and an unsuspected sexual aid, the automobile.

1930's

a more womanly look, unlike the 20's when short hair and the boy silhouette was in fashion.  The women of the 30's wanted to feel like the women of the household with a more womanly silhouette and a little longer hair.

            For a daily look, women wore their hair swept back with a gentle wave to it and curls on the end. To get this look, use gel hair spray and a curling iron. Start out by curling the hair and make sure the curls are soft at the end. Then add a nice soft wave to the front and pin in place. They still did finger waves in the 30's, they just weren't as harsh and flat to the face as in the 20's. For an evening look take that hair and twist to the side hair. Then, add a low bun with some pins and keep it loose.

            For a woman's daily makeup look, I took a foundation, usually an olive color and set it in with some loose powder. Then, I added a soft pink blush on the cheeks. During the day many women just wore vaseline on their eyes for a nice flown and a little eyeliner, usually brown during the day with some mascara. For the lips, I used a reddish pink.  I started by adding the lipstick to the center lip and extending it out into defined cupids bow. In the 30's they wound extend the lip stick up to make a more heart shape. For a night look, I made the make up a little darker. I started off by adding a little more blush to the cheek and black liner to the  eyelid and a waterline on the bottom lid.  Since my model Jessie had brown hair, I added a purple which was a popular color for brunettes to use as eye shadow during the 30's. Then I put a dark brown eye shadow on the outer corners to darken the eyes and give it a nice evening look. In the picture I used a low cut back top which was a popular cut on dresses in the 30's. Tan skin was in and women wanted to show them off, so they wore dresses cut low in the back and wore their necklaces in the back instead of the front.

Tips for these looks:
1) Keep the makeup simple if you want it to be true to the time period during this time most women didn't have money for a lot of makeup.
2) Make sure you think "traditional womanly look" and do research so you understand what the women were trying to say with their clothes during whatever time period look you are going for.

Hint for next transformation: She is the heartbeat of the earth.


Pocanotas

 If you remember back or read back in my blogs, the first transformation I did was the Disney character Mulan. In order to complete the Disney to Life page for my second transformation I chose Pocahontas. I loved the movie Pocahontas growing up, though it might have been my massive crush on John Smith, but like Mulan, her courage is what captured me. For this look I started off my research a lot like Mulan's look. I watched the video and looked at pictures and cross referenced those images with photographs of real Native Americans.

            Pocahontas's hair is pretty straight forward: really long and really black. Finding someone with that hair and that in any way resembled Pocahontas well was a different challenge. That's when I thought of my friend Amanda.  She has darker skin and dark hair. Her hair wasn't as long as Pocahontas, so my first thought was to use a black wig. Then, I figured that would not look very realistic. So, I came up with the idea to make my own clip in hair extensions. I started off with a simple long black wig and cut off large piece of it. Then I took that hair and hot glued it across a Bobby pin, I did this about 20 times to create my own homemade extensions. Then, I went through Amanda's hair and placed the extensions to give her length. Her hair was a little lighter than the extensions so I sprayed those parts of her hair black to even it out. I then pulled all the hair to one side and put some wave in it to simulate a wind blown look.

            The makeup required a lot of bronzer and conturing of the face. I started off by darkening Amanda's skin and then darkened the side of her nose to thin it out.  Then, I contoured to make her cheek bones pop.  Conturing is all about creating shadows to make the face appear different and in this case angular. For her eyes, I used a brown shadow to off set the eyes with a black liner. Pocahontas is very natural, so I wanted to keep the make up pretty simple. Pocahontas lips are very full luckily so are Amanda's so I started off with a brown lip liner and fill the lips with a dark brown. Then, I finished off the look with a shimmer to highlight on the nose, cupids bow, and a little on the cheeks.

Tips for this look:
1) Make sure you study the shape of her face and nose for contouring.
2) make sure the hair black hair spray is worked into the hair and not just all as once it will make it look more real.

Hint for next transformation:  You'll be greatly depressed if you miss this time in history.

Thursday, October 6, 2011

The Six Merry Murderesses

WARNING: This page is not for anyone who just ate, is planning on eating or has an overall weak stomach!
This week was by far one of my favorite weeks; not just because I got to kill my brother, but because it shows what makeup is really capable of doing. Beyond the character transformations, my portfolio needs to include basic theatre makeup skills. I really didn't want to just do a couple wounds and call it quits, anyone can do that.  I wanted to tell a story. I decided on a common theme of revenge for my "death page", I just didn't know what the story behind it would be. It wasn't until I was listening to the Pandora show tunes station that the song "Cell Block Tango" from the Musical Chicago came on. In the song there are 6 different stories of how a girlfriend, wife or mistress got back at their man by killing them. The song was the perfect inspiration for my death by revenge wounds. I would bring to life each one of their crime scenes and it would give me a chance to stylize everything in the 20's (when the musical takes place). This week I didn't have enough time to do all 6 murders, but I did manage a couple.  The rest will come later.  I can't give all my murderous secrets away just yet!


First Women Story: Pop!
You know how people have these little habits
That get you down like Ernie
Ernie like to chew gum, no, not chew, Pop
Like, I come home this one day and there's Ernie
Layin' on the couch chewin', no, not chewin', poppin'
So, I said to him, I said
"Ernie, you pop that gum one more time" and he did
So I took the shotgun off the wall
And I fired two warning shots into his head

Second Women: Lipschitz
I loved Alvin Lipschitz, he was a real artistic guy, sensitive, a painter
But he was always trying to find himself
He go out every night looking for himself
And on the way, he found Ruth, Gladys, Rosemary and Irving
I guess you can say we broke up because of artistic differences
He saw himself as alive and I saw him dead


I start this off with some research of images of bullet wounds to get the color shape and texture right. Then I started by practicing different wounds on my arm just to get the overall feel and look; and like they say practice makes perfect. Then after practicing I chose (more like told) an innocent victim I was going to kill him.  Naturally, I picked my brother.
How To:
Start off with deciding where you want the wound to be.  In this case, it was his head, another time it was his throat. After picking a spot, determine the size of the wound you want and what type of wound. I did a bullet wound and a slit throat. Lay down a thin layer of liquid latex. Then, take one ply of tissue role it up and place around edge of latex area. Then, cover tissue with more latex. After you've done this, wait 5 to 10 minutes for the latex to dry. After that, it's time for some color. I start off by applying a black paint to the middle of the wound. Then, I mix in a dark maroon color that is usually the color of dried blood. Blend that out over the edges. Then, take a pink skin color and blend the latex into the skin color. Add different wound colors such as brown, red, purple, etc. Blend different colors in different areas until you get the right look. Then you need going to need two different kinds of fake blood: thick and runny.  Take the thick blood and put it right in the middle of the cut over the black. Then take the runny blood and place along edge of wound and then let it run naturally for an authentic blood flow look. For the second wound I did the same thing and followed all the same steps. This wound was just a slit throat and not a bullet wound. Finish off the look by smearing some blood around the wound. Have your model lay on the ground with a bloody knife or whatever you imagine you used to kill them and you are good to go. You can freak out just about anyone with this look, in my case it was my mother, she did not like this at all.  But, then again, that is the point.


Tips for this look:
1) Be patient with the latex.  The more time you spend with it the better the wound will be.
2) Make sure you have Q-tips easily available to clean up the liquid latex.
3) Latex does not smell good!  So, be sure to cover the area you are working in with towels or tarp; something that can get dirty.
Hint for Next Week: She is waiting for her dream giver.
Link to Song Lyrics so you can read the rest of the stories.


Thursday, September 29, 2011

To Think I Saw it on Mulberry Street...

My transformation this week was definitely a "make it up as you go" kind of process, which was only fitting as the entire idea was brought on by a series of perfect events.  While in New York, my sister and I talked a lot about what I wanted in my portfolio.  I knew it would have to include some creations that would show my personality.  And it was during this conversation that we turned down Mulberry Street.  I looked up and saw the street sign and it was like a vision I remembered a Dr. Seuss book I read when I was little To Think I Saw it on Mulberry Street.  It was the perfect vessel to show my child-like imagination: Dr. Seuss characters.  Still, I didn’t want to do straight from the movies Dr. Seuss characters, I wanted to put my own twist on them.  My sister and I threw around some ideas, but it was again a New York City inspiration that stuck.  With fashion week steadily approaching, it seemed like the perfect marriage of inspirations: Dr. Seuss and high fashion.
To prepare for this look I took a different approach from my usual formula. I couldn’t just watch a video or research a time period, so I had to piece together everything I wanted for this Dr. Seuss themed page. I decided to do three characters for this page, two different looks and two that are in a sense the same character.  This week I created a high fashion Thing 1 and Thing 2.  I started by looking at pictures of Thing 1 and Thing 2 and getting a sense of their over all colors: fluffy blue hair, white faces, and red jumpsuits. Then, I looked at picture of models on the runway.  The two things I noticed were faux hawks and feathers.  Marrying these ideas, I created a hair style for the Things that used blue feathers in a faux hawk to achieve a whimsical Dr. Seuss look.


How To:
To do the hair I started by pulling the front into a big poof, think Snooki when doing this part. Fix that in with booby pins and lots of hairspray (Gel if needed). Then start teasing the hair like crazy, I also find that if you curl the hair a little bit, it make it easier to tease. I then pulled back and pinned the side pieces of hair, combing the edges so they were sleek. Once all the hair is pinned back I started the messing part the feathers. I took a long blue boa and cut tiny pieces and started bobby pinning them into random places in the faux hawk. I finished off the hair with a little blue spray color and hairspray.

                                                                                                           For the make up I had to think a little differently. I knew I didn't want them to look exactly like Thing 1 and 2 with their big eyes and turned up noses, but I wanted to to be inspired by the colors and cartoon aspect. Instead of an all white face,  because let's face it, been there done that, and it was not fun. I decided to just do a paler face, common on the runways, then add white into the eyes and streaks of white on the face to give a more high fashion appeal. I also wanted blue in the eyes to match the hair. Finally, when I looked at Thing 1 and 2 I realized they had very dramatic cartoon eyelashes so I used a little trick to create that same look.


How To:
Start off by applying some skin colored or a shade lighter foundation, then set that with a skin colored loose powder. You are then going to apply a white eyeshadow extending up into the hair line and into the forehead. I then took a very electric blue and added that to the crease of the eyelid and extended out. Then, for the eyeliner I took a liquid liner and drew in 3 fake eyelashes and drew lines on the bottom lashes. So from far away it looks like she has big bold eyelashes that make the eyes pop. For blush I took the white again and put it where I would normally put the blush. To finish it off I took a red lipstick to match the lovely thing one and thing two jumpsuit. 


For the costumes I just did an Ed Hardy inspired cut up Thing 1 and 2 T-shirt that I made myself with some black legging. I wanted the T-shirt to be bigger so that it was more like a short dress and the cut up back reminded me of thought bubbles common in Dr. Seuss books. 
My idea for the pictures was to find a Mulberry St nearby to pose with the street sign and luckily, thanks to Google, I discovered there was one about 15 mins away from my house. Unfortunately, the weather was not in my favor the day of the transformation. So, I was unable to get the full affect I wanted.  I guess this means I have to do this again in a few weeks and track the weather a little better.  This was a really fun and creative transformation...And to think this all started on Mulberry Street.  
My cat Tiny really got inspired by the
transformation. 


Notes for this transformation:
1) Not everything always has to be just like the character.  Use color and textures to also show a character. 
2) watch the weather channel if you plan to take picture outside you won't be surprised when you wake up and it's raining haha! 
       
Next Weeks Hint: He had it coming...


Monday, September 19, 2011

Mulan

When I was faced with creating my own looks for my portfolio, I thought long and hard about the types of creations I would undertake and what they would say about my personality.  I knew there would have to be a section dedicated to Disney characters.  Ever since I was little, I have been enthralled by these cartoon masterpieces.  I spent many hours of my young life watching these movies, especially my favorite Mulan.  Since Mulan was my favorite, she was the natural choice for my first entry.


In preparing my Mulan transformation, I started by watching the movie and pinpointing the look I wanted to achieve.  The scene I chose has Mulan dressed in formal Chinese attire for her interview with the matchmaker.  I watched many videos and studied every picture I could find to make my own sketches.  Some specific things I noticed were that her eyebrows are higher set than most peoples and she has larger heart shaped lips.  In this look her hair is pulled back off her face in a loose and imperfect bun with a curled shorter piece of hair pulled down onto her forehead.  These were the major notes I used when transforming my friend Ashely into the Disney Princess Mulan.


To start transforming Ashley I had to cover her face entirely in white, including her lips and real eyebrows so that I could achieve the high set eyebrows of Mulan.  I then applied a light purple shadow across the lid, extending it passed the natural lid crease.  I used a dark purple above the lid crease to give the illusion that her eyelids are larger.  For the defined and dramatic contrast of a cartoon character I used a black liquid liner to line her eyes.  I started by extending the line across the lid into a full cat eye and dropping it down toward the nose.  Above Ahsley's real brows, I used a black pencil to draw in new high arched brows.  On the cheek, I used a cream blush in pink to make the color really pop on the white face.  The final touch for Mulan's face makeup was her blood red lips.  In the movie, she uses a paint brush and a red paint, so in order to achieve this same painted look I used a deep red lipstick that I extended beyond Ashley's natural lip line.  Remember, I covered her lips in white at the beginning so that the color on the lip and off would have the same pigmentation and look dramatic and costumed.

Mulan's hair required the look of loose imperfection.  Amazingly, creating the appearance of simplicity is not as easy as it should be.  I started by pulling back half of Ashley's hair into a loose bun that set halfway back on her head.  The second half I parted and pulled around the first half.  Then to create the individualized look Mulan tries to achieve herself, I pulled one section to the forehead and used hairspray to keep it in place.  A final allover spritz of hairspray finished the look and kept everything in place.  

A few notes:  
To create a cartoon look, use deeply contrasting colors and liquid makeup whenever possible.
To make pigments match, always use the same base color across the entire face.
And to set everything from hair to makeup, give the final look a final spray with an aerosol hairspray.
Next week:  And to think I saw it on Mulberry Street...

Extra Photos:


Sunday, September 11, 2011

Let's Get Started!

Nowadays women of all ages use makeup to hide, smooth and redefine their faces.  They are trying to hide flaws, look younger or merely define their features.  They are attempting to look like a better version of themselves.  Not me, I use hair and makeup to transform a person into someone they are not. I create a character and tell a story without any words. In one glance you can tell something about this character.  You know who they are and from where they came.  
At the end of January, I will be auditioning/ interviewing for multiple colleges majoring in Technical Theatre. It is at that time that my portfolio of hair and makeup design will be presented.  So from now till then, I will be documenting my progress as I create different characters inspired from life, fantasy and history.  In each blog post I will document 1 to 2 new looks that will be put into my portfolio.  I will post pictures of the model before, after and all the steps I took to achieve their transformation.
Each of these looks takes a lot of time and effort, but they all start with some kind of inspiration.  I'm inspired by many different things from books to historical eras.  When I have an idea I want to pursue I start of with research, notes and pictures. Then I practice part of the look, usually on myself, and draw out my vision. Once I have everything drawn out I then ask a friend that looks closest to my vision and try out the final hair and makeup design on them. 
In this blog you can look forward to some of my original designs like my natural disaster concept.  I will also be showing Disney characters and unrealized characters from books.  In addition to fantasy, I will be documenting different eras and showing my skills with basic film and stage concepts like aging and wounds.  In the end of this journey I hope you will learn a little more about what really goes into a transformation as I am certain to learn a great deal about myself.  I'm looking forward to pushing the boundaries of hair and makeup design and bringing you along for the ride.  Let's get started!